
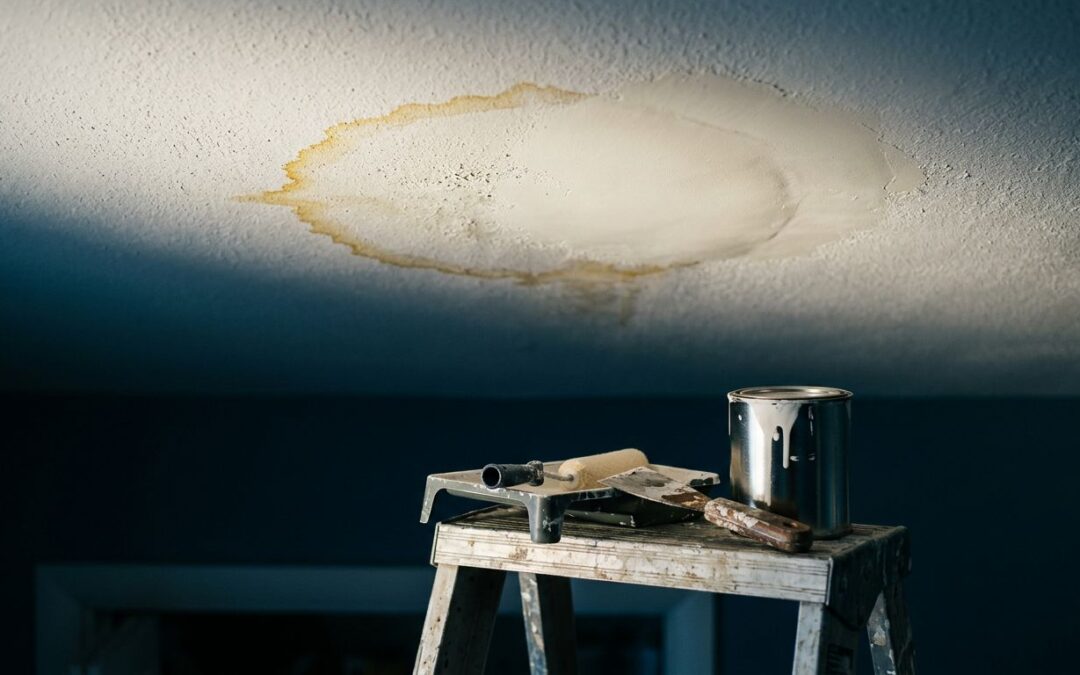
A yellow-brown ceiling ring can make an otherwise clean room feel unfinished. The good news is that you can paint over water stains and get a clean, even finish, but only after the ceiling is dry and the moisture source is addressed.
Standard ceiling paint doesn’t lock in the discoloration. Without the right prep and primer, the stain can work its way back through a fresh coat within days.
Start by addressing the moisture source, then give the ceiling the careful preparation it needs.
Key Takeaways
- Make sure the ceiling is completely dry before painting.
- Resolve the moisture problem first, or the discoloration may return.
- Proper preparation and sealing help create an even, lasting finish.
Key Takeaways
- Fix the leak or moisture source before painting, and make sure the ceiling is completely dry.
- Clean the surface carefully and address mold, soft drywall, sagging, or other water damage before continuing.
- Use a true stain-blocking primer, such as a shellac-based or oil-based formula, to prevent discoloration from bleeding through.
- Apply matching flat ceiling paint with a wet edge, and repaint the entire ceiling when a touch-up would leave a visible patch.
Fix the Leak Before You Pick Up a Paint Roller
Painting over a stain before fixing the moisture problem is like putting a clean tablecloth over a spill that’s still spreading. Wait until the water leak is repaired before repainting.
Water stains on ceiling surfaces often trace to a water leak from roof issues, a plumbing leak, or moisture condensation. Other sources include an upstairs bathroom, slow leaks near windows, or HVAC equipment that creates condensation stains. In Raleigh, Durham, Chapel Hill, and Wake Forest homes, storms can also expose worn flashing, loose shingles, or small roof penetrations that were not obvious before.
Look closely at the damaged area before you begin. Stop and arrange repairs if you notice:
- A ceiling that feels soft, swollen, or damp, which may signal water damage.
- Sagging drywall, peeling tape, other drywall damage, or a growing stain.
- Active dripping, a musty smell, or visible mold growth.
- A stain below a bathroom, laundry room, attic, or HVAC equipment.
Give the repaired area time to dry fully. For a minor, contained leak, that may take several days. A major water event can take much longer. A moisture meter gives the clearest answer, especially when comparing the stained spot with a nearby dry section of ceiling.
Paint hides discoloration. It does not repair wet drywall, loose texture, mold, or an active water leak.
How to Prevent Water-Stain Bleed-Through
Water stains contain minerals, tannins, rust particles, and other residue. Those materials can dissolve into regular latex paint or emulsion paint as it dries. That is why a fresh white patch can turn yellow before the day is over.
A durable repair requires cleaning, a stain-blocking primer, and matching ceiling paint.
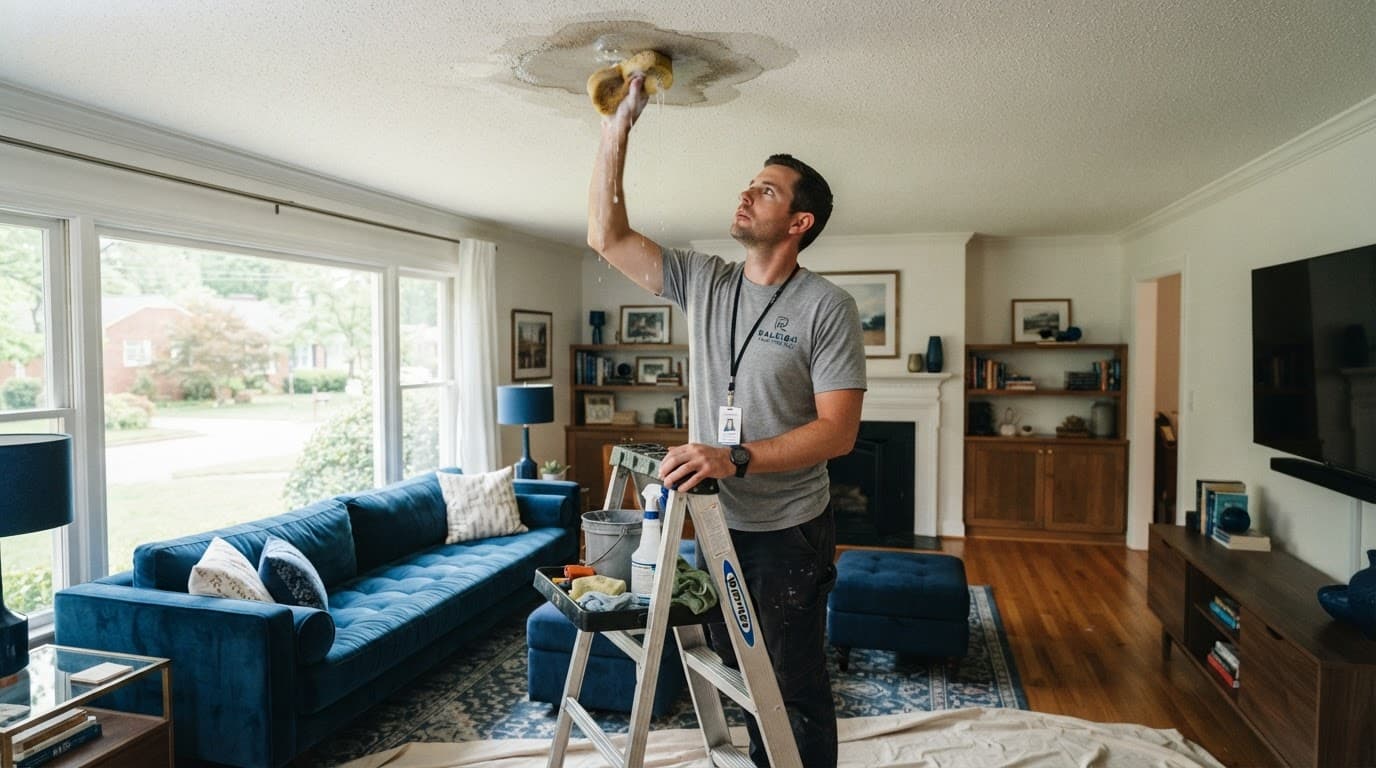
- Protect the room and gather the right supplies. Cover flooring and furniture with a drop cloth. Use a stable ladder, protective gloves, safety goggles, a sponge, mild dish soap, clean water, sanding paper, primer, a brush, and a roller. A 3/8-inch roller nap works well for smooth drywall. Use a thicker nap for a textured ceiling.
- Clean the stained surface. Remove dust, grease, and loose residue with a lightly damp sponge and mild soapy water. Avoid soaking the drywall. Wipe the area again with clean water, then let it dry completely.
- Treat mold carefully if it is present. For a small area of surface mildew on a painted ceiling, use a commercial mould killer or a bleach and water solution made with one part household bleach and three parts water. Open windows, use a fan for ventilation, and protect nearby fabrics and flooring. Never mix bleach with ammonia, vinegar, or any other cleaner. If the mold covers more than about 10 square feet, keeps returning, or is linked to ongoing moisture, bring in a qualified remediation professional.
- Sand only what needs smoothing. Once the ceiling is dry, lightly sand peeling paint, raised edges, or rough patches with fine-grit paper. Wipe away sanding dust with a dry microfiber cloth. Do not aggressively sand a textured ceiling. Older popcorn texture may need testing before it is disturbed.
- Apply a true stain-blocking primer. Ordinary undercoat paint will not reliably stop stubborn marks, so choose a product labelled stain resistant. A shellac-based primer, such as Zinsser B-I-N, is more reliable than standard water-based formulas and dries quickly. An oil-based primer, such as Kilz Original, works well on heavier discoloration. Brush primer around the edges, then roll a thin, even coat across the stain and slightly beyond it.
- Let the primer dry, then inspect it. Zinsser B-I-N may be ready for paint in under an hour, while oil formulas often need several hours. Follow the drying time printed on the product label. If any yellow, brown, or gray color appears after the first coat dries, apply a second coat of primer before painting.
Use the Right Ceiling Paint and Blend the Repair
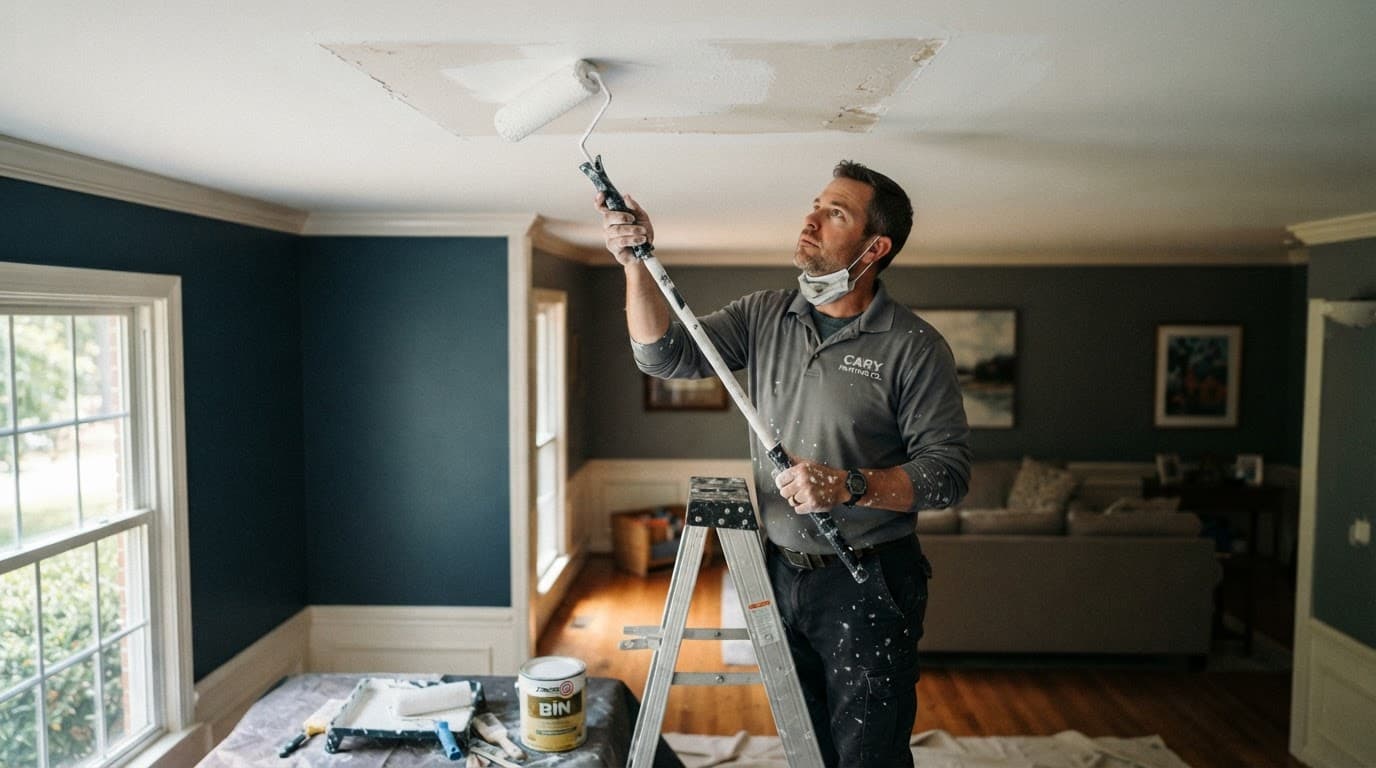
Once the stain-blocking primer is dry, apply a quality flat ceiling paint. Flat finishes hide small surface variations better than eggshell or satin paint, which can catch light and reveal a patch.
For a small repair, use the exact same paint color, sheen, and product already on the ceiling. Even then, a touch-up may look different because the existing paint has aged, collected dust, and faded slightly over time.
The most reliable way to avoid a visible patch is to paint the entire ceiling from wall to wall. Cut in around the perimeter, then roll manageable sections with a paint roller while keeping a wet edge. Finish each section with light, parallel strokes in the same direction.
If you only need to repair one spot, extend the final coat beyond the primer patch and feather the edges. Use a light touch. Heavy roller pressure leaves a thick border that becomes visible when daylight hits the ceiling.
A textured ceiling needs extra patience. Don’t flatten the texture with too much filler or primer. Dab primer into the affected area with a thicker roller, then use the same rolling pattern across the surrounding ceiling. If several stains sit on a popcorn ceiling, Popcorn Removal may create a cleaner, more consistent result than trying to blend multiple patches.
Can Bleach and Water Remove a Ceiling Stain?
A bleach and water solution can sometimes lighten a minor stain on a white painted ceiling. It may help when the mark is recent, the source is repaired, and no discoloration is embedded. For surface growth, use a labelled mould killer according to its instructions. Never mix it with bleach, ammonia, vinegar, or other cleaners.
However, bleach does not seal water-soluble residue. A stain that looks gone while damp can reappear after the ceiling dries. It also won’t correct water damage beneath the paint film.
Use bleach only as a cleaning step, not as a replacement for an appropriate primer, sealing, leak repair, or drywall correction. When in doubt, clean the ceiling, let it dry, prime it, and paint it.
Quick Fixes for Common Ceiling Stain Problems
These signs can help you decide whether to continue painting or pause for repairs.
| What you see | What it usually means | What to do |
|---|---|---|
| Yellow stain returns after painting | Standard paint was used without a stain blocker | Apply shellac-based or oil-based primer, then repaint |
| Ceiling feels soft or sags | Water damage has weakened the drywall | Repair the source and replace damaged drywall before painting |
| Dark spotting or musty odor | Mold or mildew may be present | Use a mould killer on small areas, and seek professional help for widespread growth |
| A bright white patch stands out | New paint does not match the aged ceiling | Repaint the full ceiling for a consistent finish |
House Painting projects often reveal old water stains during prep, especially in guest rooms, hallways, and finished basements. During Interior Painting, a Residential Painting Contractor can assess HVAC marks for moisture condensation and recommend ventilation or equipment checks.
A trusted Residential Painting Company can also coordinate related work when it fits the home’s condition. Cabinet Painting may make sense during a larger kitchen update, while Exterior Painting can follow roof or siding repairs once those surfaces are dry and stable.
Frequently Asked Questions
Can you paint directly over a water stain?
You should not paint directly over a water stain with standard ceiling paint. Repair the moisture source, let the ceiling dry, clean the surface, and apply a stain-blocking primer first.
Why does a water stain come back after painting?
Water stains can return when water-soluble minerals and residue bleed through ordinary latex or emulsion paint. A shellac-based or oil-based primer helps seal the discoloration before the finish coat is applied.
Do you need to replace drywall with a ceiling water stain?
A minor, dry stain may only need cleaning, priming, and repainting. Soft, swollen, sagging, moldy, or badly damaged drywall should be assessed and repaired or replaced before painting.
Can bleach remove a water stain from a ceiling?
Bleach may lighten a minor surface stain or help treat limited mildew, but it does not seal water-soluble residue or repair water damage. Use it only as a cleaning step, never as a replacement for leak repair and stain-blocking primer.
Should you paint the whole ceiling or only the stained area?
Painting the entire ceiling usually creates the most consistent color and sheen, especially when the existing paint has aged or faded. For a small repair, extend the finish coat beyond the primed area and feather the edges to reduce the appearance of a patch.
A Clean Ceiling Starts With Proper Preparation
The lasting answer is to fix the leak, not apply another quick coat of white paint. Clean the surface, use a quality stain-blocking primer, and apply paint with enough coverage to blend the repair.
When you paint over water stains, repair the water leak first and let the surface dry completely. Then the ceiling can look clean, polished, and ready to enjoy again.